
Professional LVT flooring installation matters because luxury vinyl tile is only as good as the floor beneath it. LVT is thin and flexible, so every bump, damp patch or gap in the subfloor eventually shows through as lifting edges, visible ridges or open joints. A professional fitter tests and prepares the subfloor, acclimatises the flooring and follows the manufacturer’s installation guide, which keeps your floor flat, sealed and covered by its warranty. This guide explains how LVT works, what good installation involves and how to keep your floor looking its best.
What Is LVT Flooring and How Does It Work?
LVT (luxury vinyl tile) is a layered vinyl flooring that recreates the look of wood or stone in planks and tiles. Each piece is built from several bonded layers:
- Backing layer: gives stability and grips the subfloor or locks into the next plank.
- Core layer: provides strength and water resistance. Rigid core LVT uses a dense stone-plastic composite core for extra stiffness.
- Printed design layer: a high-resolution image of wood grain, stone or tile.
- Wear layer: a clear protective top layer that resists scratches and scuffs.
LVT is installed in two main ways. Glue-down LVT is bonded directly to the subfloor with adhesive, while click LVT locks plank to plank and floats over the subfloor. Both are water-resistant, warm underfoot and easy to clean, which makes LVT popular for kitchens, bathrooms and hallways.
Why Is Professional LVT Flooring Installation Important?
Professional LVT flooring installation is important because most LVT problems come from how the floor is laid, not from the flooring itself. Three things make expert fitting worth it:
- LVT shows every flaw underneath: Thin vinyl takes on the shape of the subfloor, a problem fitters call “telegraphing”. Screw heads, board joints and dips all become visible over time.
- Warranties depend on correct installation: Most LVT warranties require the floor to be fitted according to the manufacturer’s instructions. One UK manufacturer’s guide states that failing to follow its guidance may void the product warranty.
- Mistakes are costly to fix: Glue-down LVT can’t simply be lifted and re-laid, so a poor installation often means replacing the floor.
How Does Proper Subfloor Preparation Affect LVT Flooring?
Proper subfloor preparation decides how long LVT lasts, because the flooring is only as flat, dry and stable as the surface it sits on.
Moisture is the biggest risk: Flooring products manufacturer Instarmac, citing the Flooring Industry Training Association (FITA), reports that 85% of flooring complaints are caused by moisture. Under British Standard BS 8203, a subfloor reading above 75% relative humidity is too wet for resilient flooring. Excess moisture breaks down adhesive and causes tiles to lift, bubble or gap.
Flatness is just as important: Manufacturer tolerances vary, with some allowing no more than 3mm deviation over a 2m straight edge and others a stricter 2mm over 2m. Concrete floors outside these limits need a latex screed or self-levelling compound.
Timber floors need an overlay: Floorboards, chipboard and OSB move and show their joints through vinyl. Floor First’s fitters usually fix 6mm or 9mm plywood over floorboards before laying LVT.
Key Steps Involved in Professional LVT Flooring Installation
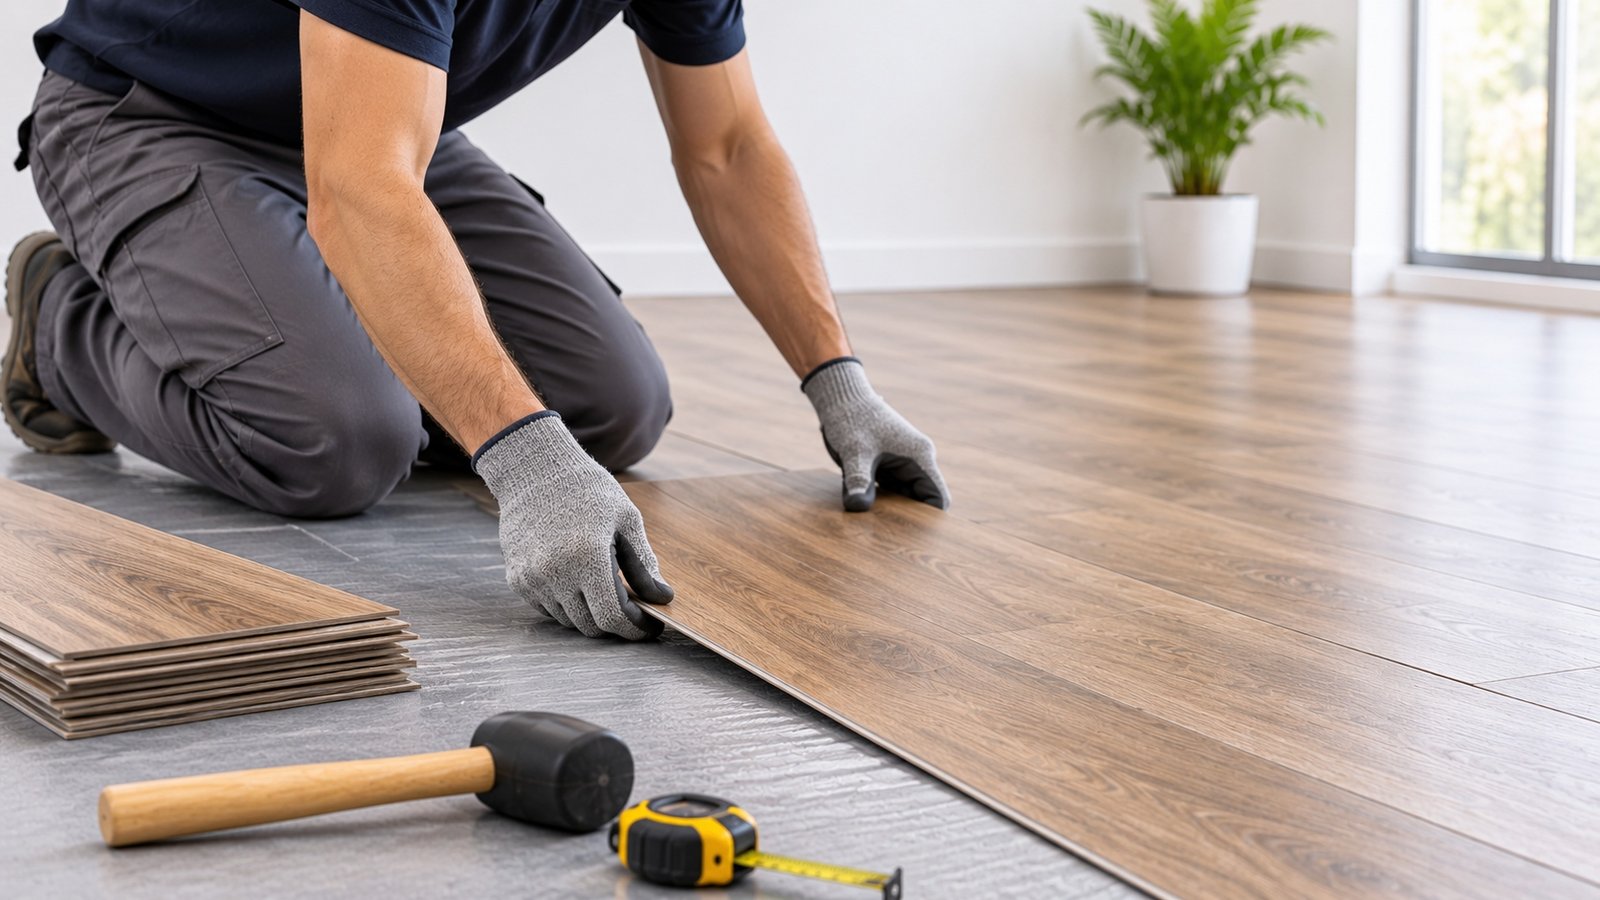
A professional LVT installation follows a set order, and most of the work that protects your floor happens before the first plank goes down.
- Survey and measure: The fitter measures the room, checks doorways and thresholds, and notes any underfloor heating.
- Test the subfloor: Moisture readings and a straight-edge check show what preparation is needed.
- Prepare the subfloor: Plywood, smoothing compound or a damp-proof membrane creates a flat, dry base.
- Acclimatise the flooring: Sealed packs rest in the room for 24 to 48 hours at 18°C to 27°C, depending on the manufacturer.
- Plan the layout: The design is centred so cuts at the walls are balanced. Patterned designs such as herringbone LVT flooring are set out from a centre line.
- Install and roll: Glue-down tiles are laid into the correct adhesive and rolled in both directions for a full bond.
- Finish the edges: Trims, door bars and perimeter sealing protect the edges and complete the look.
Underfloor heating adds one more step. It is typically switched off 48 hours before, during and after fitting, then raised gradually, with the floor surface kept at or below 27°C.
Common LVT Flooring Installation Mistakes to Avoid
Most LVT failures trace back to a small number of installation mistakes.
| Mistake | What happens later |
| Skipping the moisture test | Tiles lift, bubble or gap as the adhesive fails |
| Laying over uneven floors | Ridges and dips show through the surface |
| No acclimatisation | Gaps open at joints as planks expand or shrink |
| Wrong or mixed adhesive | Weak bond and a possible warranty refusal |
| Not rolling glue-down tiles | Hollow spots and curling edges |
| No expansion gap on click LVT | Planks peak or buckle at the joints |
| Poor cuts at doors and walls | Visible gaps and edges that catch and wear |
Professional LVT Installation vs. DIY: What Is the Difference?
The difference between professional and DIY LVT installation is mainly in preparation, tools and accountability.
| Professional installation | DIY installation | |
| Subfloor testing | Moisture meter and straight-edge checks | Often skipped or guessed |
| Preparation | Plywood, screed or levelling as needed | Limited to what the DIYer can do |
| Tools | Heavy rollers, trowels, specialist cutters | Basic hand tools |
| Warranty | Installed to the manufacturer’s guide | At risk if instructions are missed |
| Finish | Balanced layout, neat edges and trims | Depends on skill and experience |
DIY can work by clicking LVT in a small, dry room with a flat, sound subfloor. Click products such as rigid core LVT flooring tolerate small subfloor flaws better, and planks can be lifted and re-laid. Glue-down LVT, underfloor heating, concrete subfloors and large open-plan rooms are best left to a professional.
How Does Professional Installation Improve LVT Flooring Durability?
Professional installation improves LVT durability by making sure the floor wears evenly and stays sealed. A flat, fully supported floor spreads foot traffic across the whole wear layer, instead of concentrating it on high spots that scuff through first.
Tight joints and a full adhesive bond also keep out dirt and moisture, which stops edges curling and seams opening. Correct trims protect vulnerable edges at doorways, and following the manufacturer’s guide keeps the warranty in place if a defect ever appears.
Floor First’s fitters install both click and glue-down LVT, starting with a free home visit to measure the room and check the subfloor, followed by a fixed quote. Find out more about our vinyl and LVT fitting service across Leeds, Bradford, Huddersfield, Wakefield and Halifax.
How to Maintain LVT Flooring for a Long-Lasting Finish?
Maintaining LVT flooring is simple, and a few habits keep the wear layer in good condition for years.
- Sweep or vacuum regularly to remove grit that scratches the surface. Use a hard-floor setting without a beater bar.
- Damp mop with a pH-neutral cleaner made for vinyl floors. Avoid steam mops, bleach, wax and polish.
- Use felt pads and castor cups under furniture to prevent dents and scratches.
- Place doormats at entrances, avoiding rubber-backed mats, which can discolour vinyl.
- Protect from strong sunlight with blinds or curtains to reduce fading.
- Wipe spills quickly, especially near seams and edges.
FAQs
Why is professional LVT flooring installation better than DIY?
Professional LVT installation is better than DIY because fitters test and prepare the subfloor, use the correct adhesives and tools, and follow the manufacturer’s guide. That gives a flatter, longer-lasting floor and keeps the product warranty valid.
How long does professionally installed LVT flooring last?
Professionally installed LVT flooring typically lasts 10 to 20 years or more, depending on the wear layer thickness, foot traffic and care. A well-prepared subfloor and regular cleaning help it reach the upper end of that range.
What is the cost of LVT flooring installation?
The cost of LVT flooring installation depends on room size, the product, the type of fitting and how much subfloor preparation is needed. Floor First gives a fixed quote after a free home visit to measure the room and check the subfloor.
Can LVT flooring be installed over existing flooring?
Yes, LVT can often be installed over existing flooring such as well-bonded ceramic tiles or old vinyl, as long as the surface is flat, dry and sound. Carpets must always be removed, and grout lines are usually filled first.
Why is subfloor preparation important for LVT flooring?
Subfloor preparation is important because LVT is thin enough to show every bump, joint and dip beneath it. A dry, flat base also stops adhesive failing, which prevents lifting, gaps and bubbling.
What are the most common LVT flooring installation mistakes?
The most common LVT installation mistakes are skipping the moisture test, laying over uneven floors, not acclimatising the flooring, using the wrong adhesive and leaving no expansion gap on click LVT.
How long does luxury vinyl tile installation take?
Luxury vinyl tile installation usually takes one to two days for a single room. Larger areas, patterned layouts and extra subfloor preparation can add time, and new screeds need to dry before fitting starts.
Is glue-down or click-lock LVT better?
Neither is better for every home. Glue-down LVT is more stable for large rooms, underfloor heating and busy areas, while click-lock LVT is quicker to fit and more forgiving of small subfloor flaws.
How do I maintain LVT flooring after installation?
Maintain LVT flooring by sweeping or vacuuming regularly, damp mopping with a pH-neutral cleaner and using felt pads under furniture. Avoid steam mops, bleach and rubber-backed mats.
Planning a new LVT? Book a free home visit with Floor First and get a floor that’s fitted to last.